Description
GPIO Relay Control Plugin
Control 3 GPIO relays from the ChitUI toolbar with real-time status updates.
Features
- 4 Independent Relay Controls - Control 4 separate GPIO relays
- Toolbar Integration - Buttons positioned on the far right of the toolbar
- Real-time Updates - Socket.IO integration for instant state synchronization
- Custom Names - Rename each relay for easier identification
- Visual Feedback - LED-like indicators show relay state (ON/OFF)
- Settings Modal - Configure relay names and view GPIO pin assignments
- Persistent State - Relay states are saved and restored on reboot
- Simulation Mode - Works without GPIO hardware for testing
Hardware Setup
Default GPIO Pin Assignment (BCM Numbering)
- Relay 1: GPIO 22
- Relay 2: GPIO 23
- Relay 3: GPIO 24
- Relay 4: GPIO 25
Wiring
For Raspberry Pi Zero W2, connect your relay modules as follows:
Raspberry Pi GPIO → Relay Module
------------------------------------------
GPIO 22 (Pin 15) → Relay 1 IN
GPIO 23 (Pin 16) → Relay 2 IN
GPIO 24 (Pin 18) → Relay 3 IN
GPIO 25 (Pin 22) → Relay 4 IN
GND (Pin 6) → GND
5V (Pin 2) → VCC (if relay needs 5V)
Important Notes:
- Most relay modules are active LOW - they turn ON when GPIO is LOW
- Use appropriate power supply for your relay modules
- Consider using optocouplers for electrical isolation
- Check your relay module's voltage requirements (3.3V or 5V)
Featured
Control
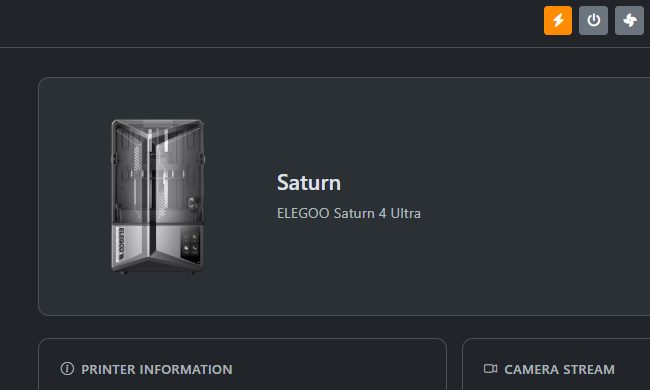
ChitUi - Relay Controler
Relay system 3D Printers
Version 1.0.0
0 downloads
Added January 25, 2026